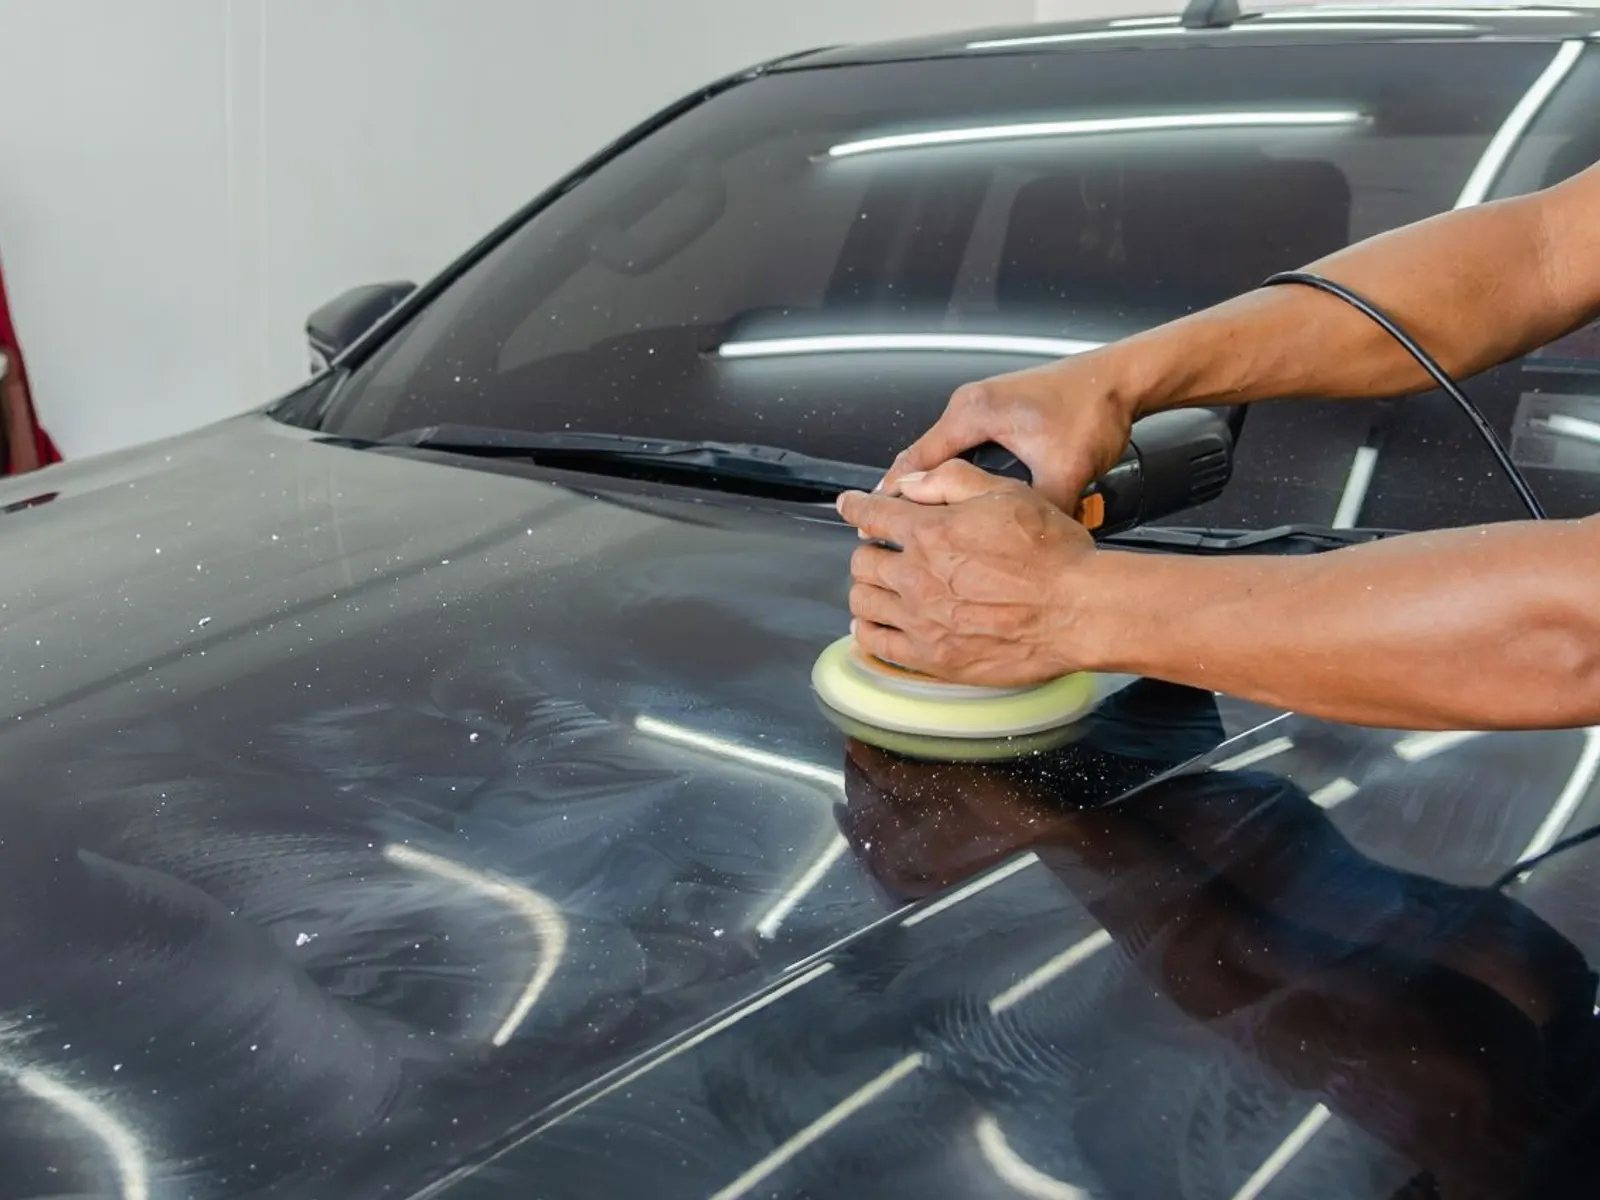
How to fix a car scratch depends on its depth. If your fingernail does not catch, the scratch remains in the clear coat and can be removed with machine polishing. If your fingernail catches, it has penetrated the paint layer and requires a touch-up or spot repair painting. If a gray, white, or bare metal surface is visible, the primer and sheet metal are exposed; it must be painted before rust sets in. At our workshop in Kepez Akdeniz Sanayi industrial estate, we can evaluate a photo of the scratch and tell you which method is needed.
How to fix car scratches? Check the depth first
Before attempting to buff out a scratch, answer the question "how deep is it?" What looks like a similar scratch could be two completely different types of damage: one is merely a shallow mark on the surface of the clear coat, while the other is a deep gouge where the sheet metal is exposed. Applying the same method to both either wastes time or thins the paint unnecessarily.
Vehicle paint typically consists of four layers: the sheet metal, primer, color (base) coat, and a clear coat on top. Which layer the scratch reaches determines the correct repair method. In this guide, we explain the test you can perform at home, the effective method for each depth, and when you should consult a professional.
How to perform the fingernail test
The fingernail test is the simplest way to determine whether a scratch has penetrated the clear coat layer. On a washed and dry surface, hold your fingernail perpendicular to the scratch and gently run it across.
- Wash and dry the vehicleDirt and grime can make a scratch appear deeper or shallower than it actually is. Dry the area with a clean microfiber cloth.
- Inspect under varying lightLook at the scratch from different angles. In daylight or under a smartphone flashlight, fine scratches become much more visible.
- Run your fingernail perpendicular to the scratchDo not run your fingernail along the length of the scratch; slide it across the scratch with light pressure.
- Evaluate if your nail catchesIf it doesn't catch at all, it is superficial; if you feel a distinct ridge, it is deep.
- Check the underlying colorIf you see a white, gray, or metallic color inside the scratch, the primer or sheet metal has been exposed.
Tip: Drop a little water onto the scratch. If the scratch disappears when wet, it is most likely only in the clear coat; if it remains just as visible, it is deeper. This is an estimate; the definitive assessment is made through the fingernail test and a workshop inspection.
Repair method table by scratch depth
The table below translates the fingernail test result into the appropriate repair procedure. Timeframes are owner-approved estimates at our workshop; the exact timeframe is determined after an assessment based on scratch depth and panel size.
| Fingernail test | Where is the scratch? | Method | Duration |
|---|---|---|---|
| Does not catch, like fine swirl marks | In the clear coat | Fine polish compound at home or workshop machine polishing | 1–3 days |
| Catches very slightly, color visible | Clear coat and base coat | Touch-up or spot repair painting | 1–3 days |
| Catches distinctly, white-gray surface | Primer exposed | Body filler, primer, and spot repair painting | 1–3 days |
| Groove present, bare metal shines | Sheet metal exposed | Metal preparation, primer, panel painting | Panel painting 1–2 days |
When painting an entire panel is necessary, our owner-approved price ranges are: door 3,500–6,000 TL, fender 4,000–7,000 TL, hood or roof 5,000–10,000 TL, bumper 2,500–5,000 TL. Most scratches can be resolved with smaller interventions such as a touch-up or spot repair painting at lower cost; the exact price is provided after photos or an assessment.
Scratch removal: how to handle clear coat scratches at home
If the scratch is truly confined to the clear coat, attempting a fix at home makes sense. However, caution is required, as polishing thins the clear coat.
- First wash and dry the surface; otherwise, grit particles will cause larger scratches.
- Apply scratch remover or fine polishing compound using a small applicator pad or microfiber cloth.
- Work with light pressure and small circular motions, rather than rubbing straight along the scratch.
- Wipe and inspect after each pass. If there is no improvement after three to four passes, stop.
- Finish by waxing or sealing the surface; wax restores the shine and removes any dull haze left by the polishing compound.
Warning: Aggressive compound, dry cloths, or sanding sponges can burn through the clear coat and expose the primer. The clear coat is very thin on body lines, sharp edges, and plastic parts; attempting manual polishing in these areas carries high risk.
Do home remedies really work?
Toothpaste, scratch repair pens, cooking oil, or spray waxes usually do not remove the scratch; they merely fill it temporarily to mask it. After rain or a car wash, the scratch reappears.
Scratch repair pens may work for very fine hairline marks. However, if the color does not match precisely, the spot will stand out from the surrounding paint. Toothpaste is a mild abrasive; even when used carefully, uncontrolled rubbing can leave a dull, hazy patch around the area.
Key scratches and deep scratches
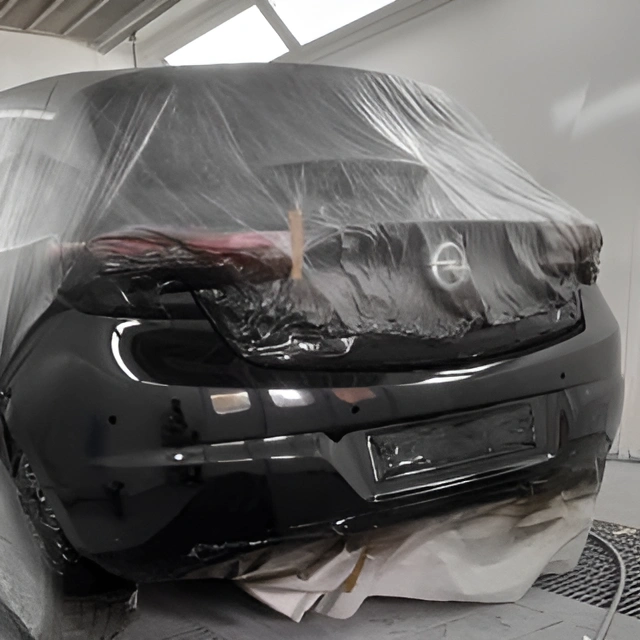
A frequent cause of vehicle scratch damage is vandalism or contact with sharp objects. These scratches typically follow a single line and often penetrate the color coat down to the primer.
Deep scratches—where a fingernail catches clearly and the base color changes—cannot be removed with machine polishing. The deeper the scratch, the broader the preparation area required. If moisture penetrates where bare metal is exposed, rust will develop over time and cause the surrounding paint to bubble. Delaying repair of a deep scratch will only increase repair costs.
How scratch repair is done at the workshop
When a scratch requires painting, there is a clear procedural order. Here is how we work:
- AssessmentScratch depth and the condition of the surrounding paint are inspected free of charge at our workshop.
- PreparationThe area around the scratch is sanded, and body filler and primer are applied where necessary.
- Color matchingThe vehicle's exact shade is matched digitally, and PPG or Standox paint is mixed.
- Paint and clear coatPaint is applied in a dust-free paint booth with baking, followed by the clear coat.
- Polishing and deliveryThe area is blended with adjacent panels, and we inspect the result together upon delivery.
For minor damage, the duration is 1–3 days. For more information, visit our scratch repair page.
Touch-up, spot repair painting, or machine polishing?
These three methods are often confused. Machine polishing removes fine surface scratches by leveling the clear coat; no paint is added. Touch-up covers tiny pinpoint chips with paint. Spot repair painting prepares the damaged spot and blends paint into the surrounding panel.
As a rule of thumb: if your fingernail does not catch, use machine polishing; if it catches lightly, consider touch-up or spot repair painting; if it catches distinctly, spot repair painting with surface preparation or panel painting is needed. We determine the best option together during an assessment. Our article on spot repair painting vs. complete painting can help you decide.
What happens if you leave a scratch unrepaired?
A fine scratch confined to the clear coat is harmless and only affects aesthetics. However, a scratch that cuts through the paint layer will dull over time, trap dirt, and let in moisture.
When bare metal is exposed, moisture and rain can trigger rust. Rust spreads beneath the paint, causing it to bubble and requiring a much larger area to be repainted. Fixing it while it is minor is almost always more cost-effective.
When should you visit a workshop?
- Your fingernail clearly catches, and white, gray, or metal shows inside the scratch.
- The scratch is very long or extends across multiple panels.
- There is a dent, paint bubbling, or early signs of rust next to the scratch.
- After attempting polishing at home, the scratch persists or the area turns dull.
- The car has a pearlescent or metallic paint finish, where precise color blending is essential.
Send a photo of the scratch, and we will evaluate its depth and recommend a repair method. Assessment at our workshop is free.
How to photograph the scratch
We provide initial quotes via photos, but clear photos make accurate guidance much easier. Wash the car and photograph the scratch in the shade away from direct glare. Two photos—one close-up and one showing the entire panel—are usually enough.
If possible, mention in your message whether your fingernail catches when dragged across the scratch. This speeds up our preliminary assessment. The final determination is confirmed under workshop lighting during a free inspection.
Types of scratches and their causes
Knowing how a scratch occurred makes it easier to estimate its depth. Here are the most common types:
- Swirl marks and spiderwebbing: Caused by dirty wash mitts, automatic brush car washes, or wiping dust off a dry vehicle. These generally remain within the clear coat.
- Door edge and bag scratches: Caused by fingernails, keys, or bags brushing against door handles and edges. Most stay in the clear coat, though some reach the base coat.
- Parking scuffs: Horizontal marks caused by contact with another vehicle or a wall. Paint transfer from the other object may be present; cleaning off the transferred paint reveals the condition underneath.
- Key and sharp object scratches: Linear gouges that often cut deep into the surface, frequently reaching the primer.
- Stone chips and nicks: Point-source chips rather than lines; common on the hood and front bumper, typically treated with touch-up paint.
If paint has transferred from another car, the mark may look like a scratch but could just be sitting on the surface. After gently polishing away the paint transfer to reveal the actual surface beneath, perform the fingernail test.
How to minimize scratch formation
Most scratches stem from everyday car care habits. A few simple rules can help prevent them:
- Never wipe a dusty car with a dry cloth; rinse thoroughly with water to loosen dirt before washing.
- Use clean microfiber cloths for every wash. Never reuse a cloth that has dropped on the ground.
- Avoid brushing keys or heavy bags against the vehicle body around door handles.
- Check clearance with adjacent vehicles before opening doors in tight parking spots.
- Remember that car wash brushes often trap grit; choose hand washing whenever possible. For details, see our article on scratches caused by improper car washing.
What determines the price of scratch repair?
Two scratches of the exact same length can have completely different repair costs. Several factors determine the price:
First is depth: a scratch removable with machine polishing requires much less labor than one requiring primer and painting. Second is the affected panel: doors, fenders, and bumpers have different baseline costs. Third is paint type: blending pearlescent or metallic shades requires more specialized labor. Fourth is whether the damage is contained to a single panel or spans across multiple panels.
This is why answering "how much does scratch repair cost?" over the phone without seeing the damage is rarely realistic. If you send photos, we will provide an initial quote and estimated turnaround time, then confirm the exact details with a free assessment at our workshop.
Frequently asked questions
What is the fingernail test and how is it done?
On a clean and dry surface, you slowly run your fingernail perpendicular across the scratch. If it doesn't catch, the scratch is most likely only in the clear coat; if it catches, it has reached the paint layer.
Can car scratches be removed with machine polishing?
Only shallow scratches on the surface of the clear coat where the fingernail does not catch can be removed with machine polishing. Scratches that have penetrated the paint layer cannot be permanently fixed with polishing.
Can deep scratches be repaired at home?
No. A deep scratch where your fingernail distinctly catches or where gray or metal is visible requires body filler, primer, and paint. Home remedies only temporarily hide the scratch and may leave the surrounding area dull.
Can key scratches be repaired?
Yes. Because key scratches usually cut through the paint, spot repair painting or panel painting is required. We determine the method during an assessment based on the depth.
How long does scratch repair take?
For minor damage, the duration is 1–3 days. If an entire panel needs painting, panel painting takes 1–2 days. The exact timeframe is clarified during an assessment based on the scratch's depth and size.
How much does scratch repair cost?
The price depends on the depth and size of the scratch. If panel painting is required, our owner-approved ranges are 3,500–6,000 TL for a door, 4,000–7,000 TL for a fender, and 2,500–5,000 TL for a bumper. We provide an initial quote with photos.
What happens if I don't repair a scratch?
A scratch in the clear coat is harmless. If the bare metal is exposed, moisture can trigger rust, causing the surrounding paint to bubble and enlarging the repair area. Repairing it while it is minor is usually more economical.
Do scratch repair pens and toothpaste work?
They can temporarily hide very fine scratches. They do not offer a permanent solution for deep scratches; if the color does not match or if the area is abraded excessively, it will look noticeably different from the surrounding surface.
Related articles and pages
- Scratch repair
- Machine polishing
- Spot repair painting
- Improper car wash scratches
- How often should machine polishing be done?
Get an initial quote with photos
Send photos of the damage via WhatsApp, and we will provide an initial estimate and turnaround time. Assessment at the workshop is free. Address: Kepez Akdeniz Sanayi industrial estate, Şafak Mah. 5040. Sk. Sanayi 28/A Blok No 16, Kepez/Antalya.