When picking up a painted car, inspect the vehicle in daylight, from different angles, and up close; color transition, paint runs, dust, panel edges, door jambs, and invoice with warranty document are listed in order in the table below. At our workshop in Kepez Akdeniz Sanayi Sitesi industrial estate, we inspect the car together upon delivery and our workmanship is guaranteed; nevertheless, we recommend taking 10–15 minutes before taking the keys.
When the paint job is finished, the car is usually washed, shiny, and looks flawless under indoor lighting. Most defects, however, are only noticed in daylight or from a specific angle. The moment of handover is the easiest time to catch an issue before it turns into a later argument of "it was already like that." You can print the table in this article to take with you or check off items on your phone as you go.
What should you prepare before taking delivery?
Three things are enough: daylight, a clean car, and your pre-work photos. If the car is delivered in the evening, it is best to leave the inspection until the next morning or take the car out into an open area outside the workshop to inspect it.
- Daylight: Neon and spotlights inside a workshop hide color shade differences and fine scratches. Bring the car outside.
- Clean surface: If there is dust or water drops, ask to have the surface wiped with a microfiber towel; do not rub hard.
- Pre-work photos: Photos you took when dropping off the car are useful for comparing which panel was in what condition.
- Quote notes: If it was agreed beforehand which parts would be painted and which would be treated with spot repair painting or panel painting, compare them with your notes.
Car paint delivery checklist
The table below summarizes the key points to inspect at delivery, what you are looking for, and what to do if you spot an issue. Follow the order as listed; looking from a distance first, then up close, is the easiest approach.
| Check | What to look for? | If there is an issue | Done |
|---|---|---|---|
| 1. Daylight | Inspect the vehicle outdoors, ideally in direct sunlight or under an open overcast sky. | An inspection done purely indoors is not reliable; have the vehicle brought outside. | ☐ |
| 2. Angled viewing | Inspect the panel not straight-on, but from the side and at a very shallow angle. Watch whether the reflection is smooth and undistorted. | If there are ripples or blurry reflections, the surface is not even. | ☐ |
| 3. Color transition | Compare the color shade between the painted panel and neighboring panels from different angles. Look at the panel join lines. | If there is noticeable lightness or darkness, take photos and point it out. | ☐ |
| 4. Runs and ripples | Check lower door edges, hood edges, and vertical surfaces for runs, sags, or drips resembling curtains. Check for an orange peel texture. | If minor, polishing correction can be requested; if deep, repainting may be required. | ☐ |
| 5. Dust and nibs | Look for small bumps not just with your fingertips, but by sighting along the panel with light angled across it. Run your hand gently over the surface. | A few tiny specks may be normal; if dense, request a correction. | ☐ |
| 6. Gloss level | Is the gloss level of the painted panel consistent with neighboring panels? | If a panel is excessively glossy or matte, point it out; it can often be balanced with machine polishing. | ☐ |
| 7. Door jambs and sills | Open the doors, hood, and trunk. Check around hinges, inner edges, and sills for overspray or tape edge lines. | Overspray or tape lines indicate inadequate masking. | ☐ |
| 8. Seals and trim | Check rubber seals, moldings, and window edges for paint smudges, or missing/loose trim pieces. | If paint got onto rubber seals, have it cleaned; loose trim should be refitted properly. | ☐ |
| 9. Panel alignment | Check that gaps between doors, hood, and bumpers are uniform, and that doors close smoothly. | If there was misalignment before the work, compare with your pre-repair photos. | ☐ |
| 10. Working components | Test headlights, turn signals, power window switches, parking sensors, and door locks. | If any component is not functioning, point it out immediately upon delivery. | ☐ |
| 11. Cleanliness | The vehicle interior, windows, and inner wheel arches should be free of masking tape residue, sanding dust, and paint overspray. | Have any wipeable residue cleaned on the spot. | ☐ |
| 12. Invoice and warranty | Verify that all completed work (which panel, which procedure) is listed on the invoice or work order, and check the warranty terms. | Obtain written details of what the warranty covers and whom to contact. | ☐ |
Tip: Open your smartphone camera and take a video of the reflection along the panels as you walk past. Surface distortions in the reflection become much more obvious as you move than to the naked eye under static light, and you will have a clear record to show later.
How can you spot color transitions and shade mismatches?
A color shade mismatch is most noticeable when comparing the newly painted panel side-by-side with the neighboring panel under shallow-angle light. With metallic and pearlescent colors, even the same panel can look different depending on the viewing angle, so inspecting from just one position can be misleading.
Compare three elements: base shade, flake density (the appearance of metallic particles), and gloss. Remember that a slight variance can be natural; the vehicle's original paint has aged in the sun, while the new paint is fresh. High-quality color matching minimizes this difference, though expecting two coats of paint of different ages to look identical under every light condition is not always realistic. In our workshop, we use PPG and Standox paints along with digital spectrophotometer color matching; if you point out a discrepancy upon delivery, we review it together and find a solution.
Are paint runs, dust nibs, and orange peel normal?
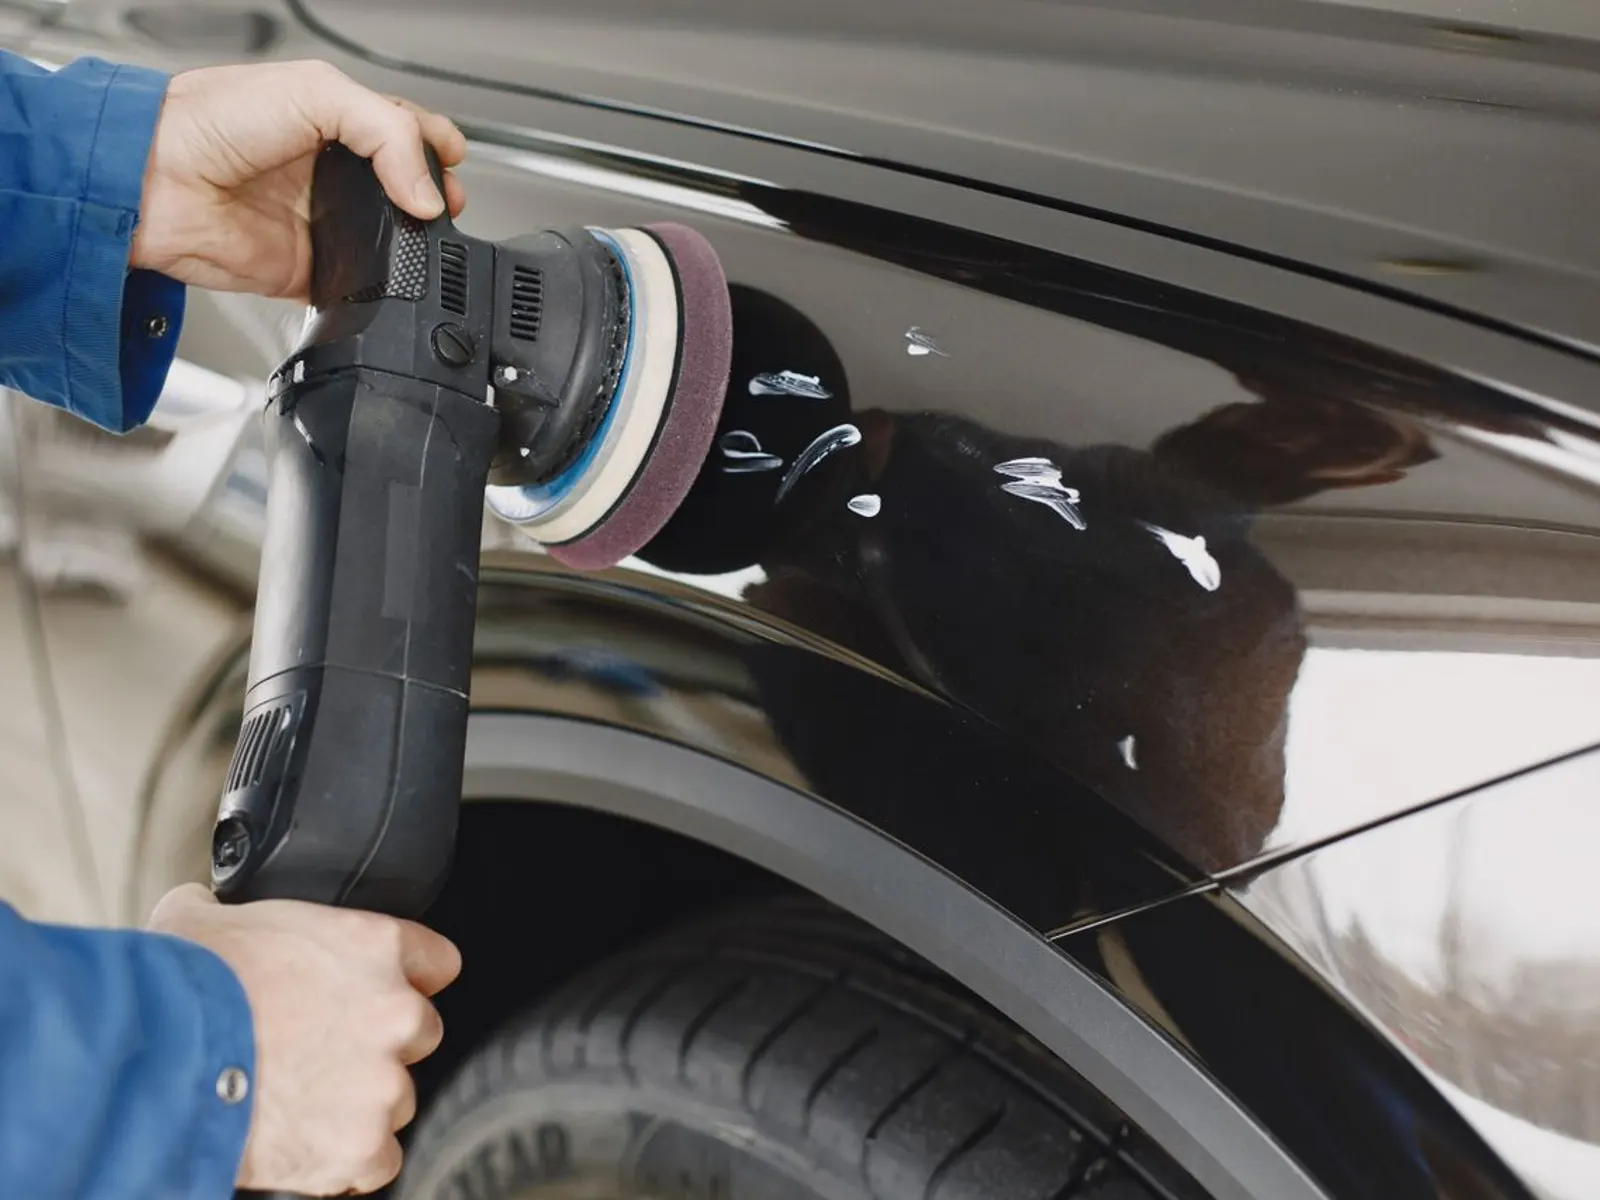
Paint runs are not an acceptable defect; they are corrected by wet sanding and machine polishing. Dust nibs and orange peel texture, on the other hand, depend on severity: even factory paint features a subtle orange peel texture, and it is expected to match the texture of adjacent panels.
A single tiny dust speck on a panel can usually be eliminated with machine polishing if the rest of the surface is smooth. If there are numerous specks, prominent rippling, or sagging paint runs across the surface, correction is required. For detailed explanations of terminology, see our car paint terms glossary.
Why should you check door jambs and panel edges?
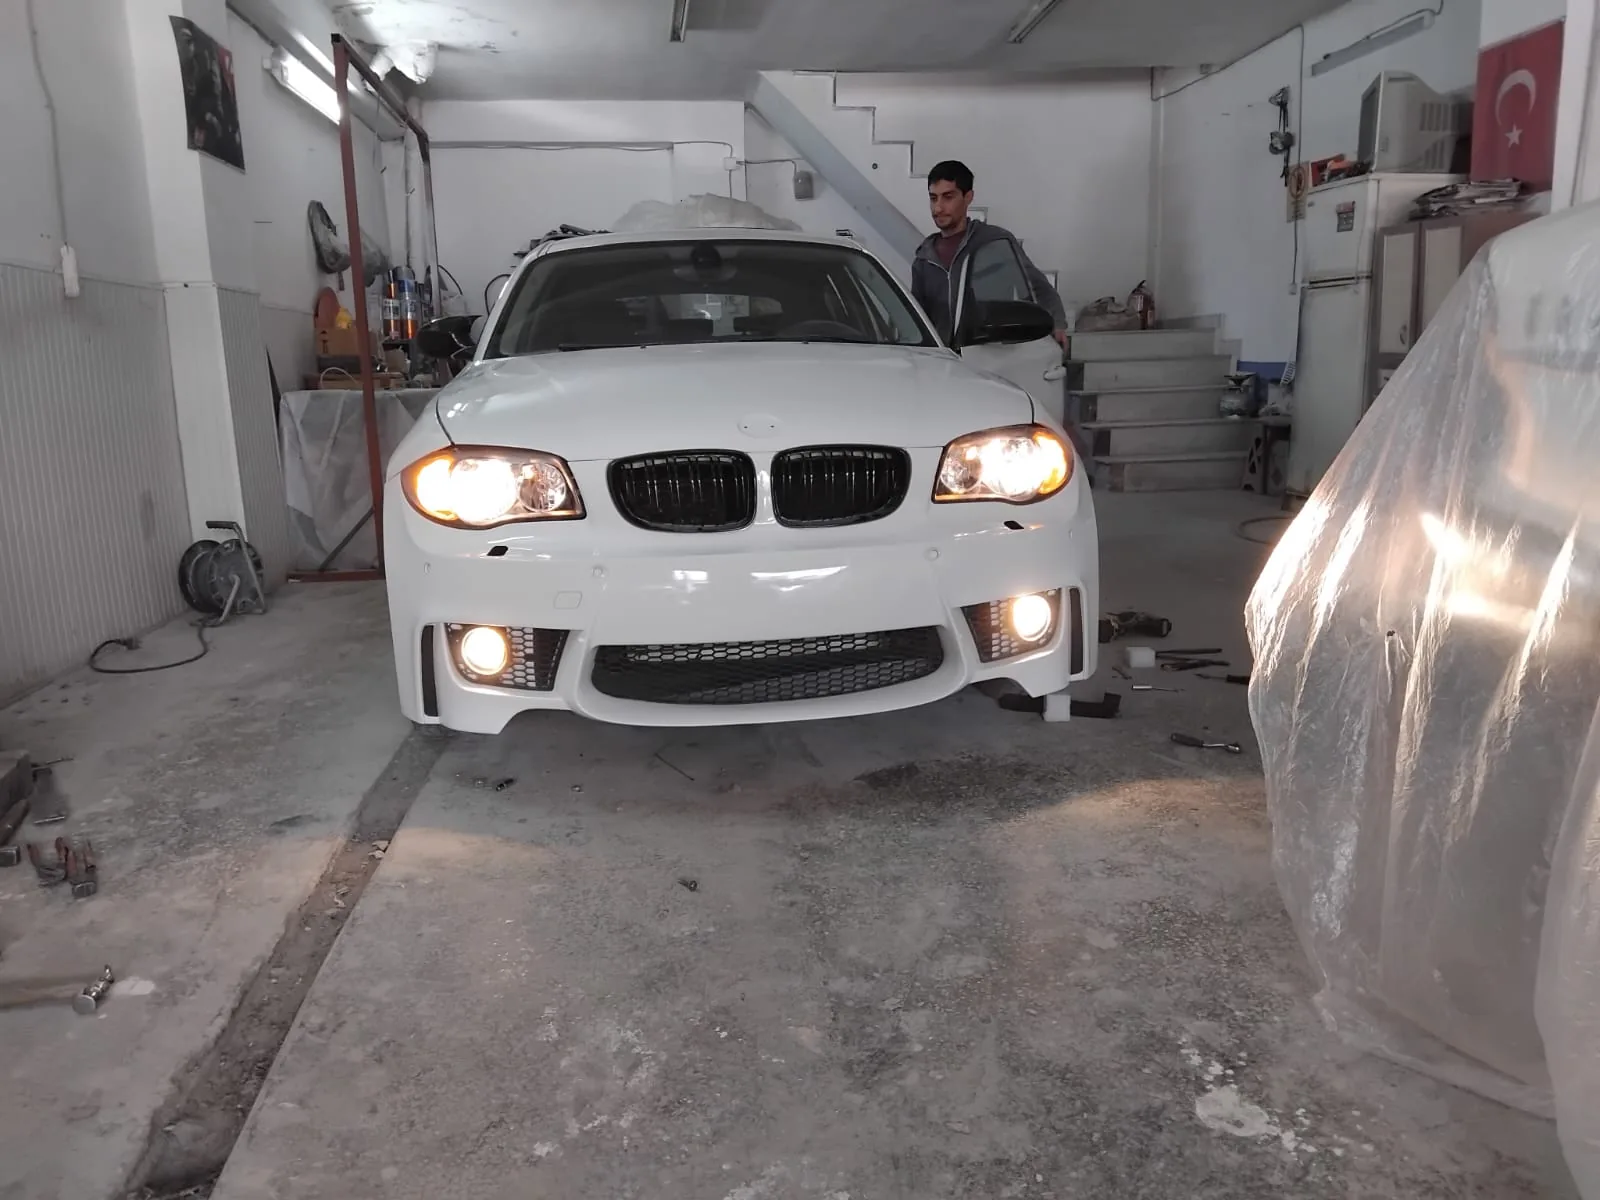
Door jambs, the underside of the hood, and trunk edges are the most honest indicators of quality painting; these areas are not usually visible from the outside and are easily skipped if the job is rushed. Paint edges should taper off smoothly and seamlessly, without harsh tape ridges.
Paint overspray on rubber seals and glass edges, moldings that do not sit flush, or misaligned reassembled parts should also be on your checklist. These details reflect how carefully the masking, disassembly, and reassembly stages were handled.
Why are the invoice and warranty important?
A written invoice or work order proves which panel underwent which procedure; this provides documentation if a problem arises later or when selling the vehicle. Our workmanship is guaranteed; ask about warranty coverage and duration at delivery, and obtain them in writing if possible.
Check the warranty details for: what procedures it covers, what conditions void it (such as subsequent accidents or harsh chemical damage), and how claims are filed. A workshop's ability to clearly explain its warranty is a strong sign of trustworthiness. For other questions to ask when choosing a bodyshop, see our guide on choosing a car painter in Antalya.
What should you do after taking delivery?
Avoid stiff brush washes, close-range high-pressure water, and abrasive chemicals during the first days with newly painted paintwork. How many days you should wait depends on the paint system; ask the workshop for their specific guidance and follow it.
- First dayPark the car in the shade and in a clean area if possible. Keep away from bird droppings and tree sap.
- First few weeksWash by hand using pH-neutral car shampoo and a soft microfiber wash mitt. Wait for the shop's recommended timeframe before applying wax or machine polishing.
- If you spot an issueTake clear photos in daylight right away and send them via WhatsApp. Reporting promptly makes correction much simpler.
If you are considering paintwork, send a photo of the damage and we will provide an estimated price and timeframe. We will go through the inspection checklist together upon delivery.
When should you return to the workshop?
- If you notice shade mismatch, blemishes, or roughness during the first wash after delivery.
- If you see clear coat peeling, bubbling, or cracking along panel edges.
- If you find an inoperative sensor, loose molding, or misaligned panel.
- If there are light surface scratches that might need attention; in that case, machine polishing may be sufficient.
For general information about our services, visit our Antalya car painting page, and for process details, see our article on how long car painting takes.
How should you communicate if an issue arises during delivery?
Explaining the issue calmly and specifically speeds up the solution. Saying "there is a paint run on the lower edge of the front left door, visible when light strikes at an angle" instead of "the paint looks bad" helps the technician focus immediately on the exact spot.
Take photos and video right away, then ask the workshop which correction will be applied and how long it will take. Minor defects can often be resolved in a few hours with fine sanding and machine polishing; deeper defects may require reworking the panel, which extends the timeframe. Make sure any issue is noted before signing off on delivery. Guaranteed workmanship exists precisely for these situations.
It is also important not to overreact to tiny nuances: a freshly painted panel might look slightly glossier during the first few days, settling closer to neighboring panels after sun exposure and washing. If you are uncertain, take another photo after a week and compare; if the noticeable difference persists, notify the workshop.
Frequently asked questions
What should I check first when picking up a painted car?
First, bring the vehicle into natural daylight and examine the overall appearance from a distance: color match and reflection smoothness. Then inspect closely for runs, dust, and panel edges.
What should I do if I notice a color mismatch after delivery?
Photograph the car in daylight from different angles and show it to the workshop. Our workmanship is guaranteed; if there is a real difference, we inspect it together and plan the appropriate correction.
Is an orange peel texture considered a defect?
A slight texture is also present in factory paint and is not considered a defect if it matches neighboring panels. If there are noticeable waves or the panel differs significantly from the others, correction can be requested.
When can I have new paint polished and waxed?
You must wait some time for the paint to cure properly. Ask the workshop for their recommended waiting time for machine polishing and waxing; an aggressive treatment done too early can leave marks in the fresh clear coat.
Can I get a warranty document upon delivery?
Yes, our workmanship is guaranteed. You can ask about warranty coverage at delivery and request an invoice or work order detailing the procedures performed.
Is it normal to see paint on door jambs?
A subtle paint transition may be visible around door edges and hinges because panel edges are also painted. However, if there is paint overspray or smudges on rubber seals, glass, or trim moldings, it must be cleaned off.
Which documents should I receive during delivery?
An invoice or work order specifying the work performed, warranty terms, and if applicable, a list of replaced or removed and reinstalled parts. These will be useful later for resale or insurance purposes.
How long should I wait to wash the car after delivery?
The duration depends on the paint system; in general, avoid pressure washing and brush washes during the first few days. Check the recommended timeframe with the workshop and follow it.