The lifespan of paint is determined by the preparation before painting: when assessment, disassembly, sanding, body filler, primer, paint, and clear coat are done in order, the surface stays smooth for a long time. At our workshop, the preparation process is the longest stage of the job; panel painting takes 1–2 days, and moderate damage takes 5–7 days. Assessment is free at our workshop in Kepez Akdeniz Sanayi Sitesi industrial estate.
Why does painting start with preparation?
Paint lasts only as long as it adheres to the surface beneath it. Sanding marks, uneven body filler, or insufficient primer will show up weeks or months after painting as bubbling, cracking, peeling, and color mismatches. That is why a great paint finish is achieved outside the paint booth—during preparation.
A vehicle's paint layers are ordered from bottom to top as follows: sheet metal, primer, color basecoat, clear coat. Body filler is used only as a thin layer beneath the primer to fill dents and surface imperfections in the sheet metal. Each layer has a distinct purpose, and if one is skipped, the others cannot compensate for it.
What steps make up the body filler and primer process?
The sequence of steps is the same for every vehicle, while the duration varies depending on the damage. In the table below, we summarize what each step does and what happens if it is skipped.
| Step | What is done? | What happens if skipped? |
|---|---|---|
| Assessment | Damage, paint thickness, and previous repairs are inspected | Hidden body filler and rust remain trapped under the paint |
| Disassembly | Bumpers, trim, and add-on parts are removed | Paint edges and masking lines become visible around borders |
| Sanding | Old paint and clear coat are matted, and the damaged area is exposed | New paint fails to adhere and bubbles |
| Body filler | Dents and imperfections are filled with a thin layer | Waviness and depressions appear on the surface |
| Primer | Covers body filler, fills sanding scratches, and protects bare metal | Paint dries dull or patchy, and absorbs moisture |
| Paint | Basecoat is applied according to the color formula | Color mismatches and uneven coverage |
| Clear coat | Gloss and protective layer applied, then oven-baked | Dull, unprotected surface |
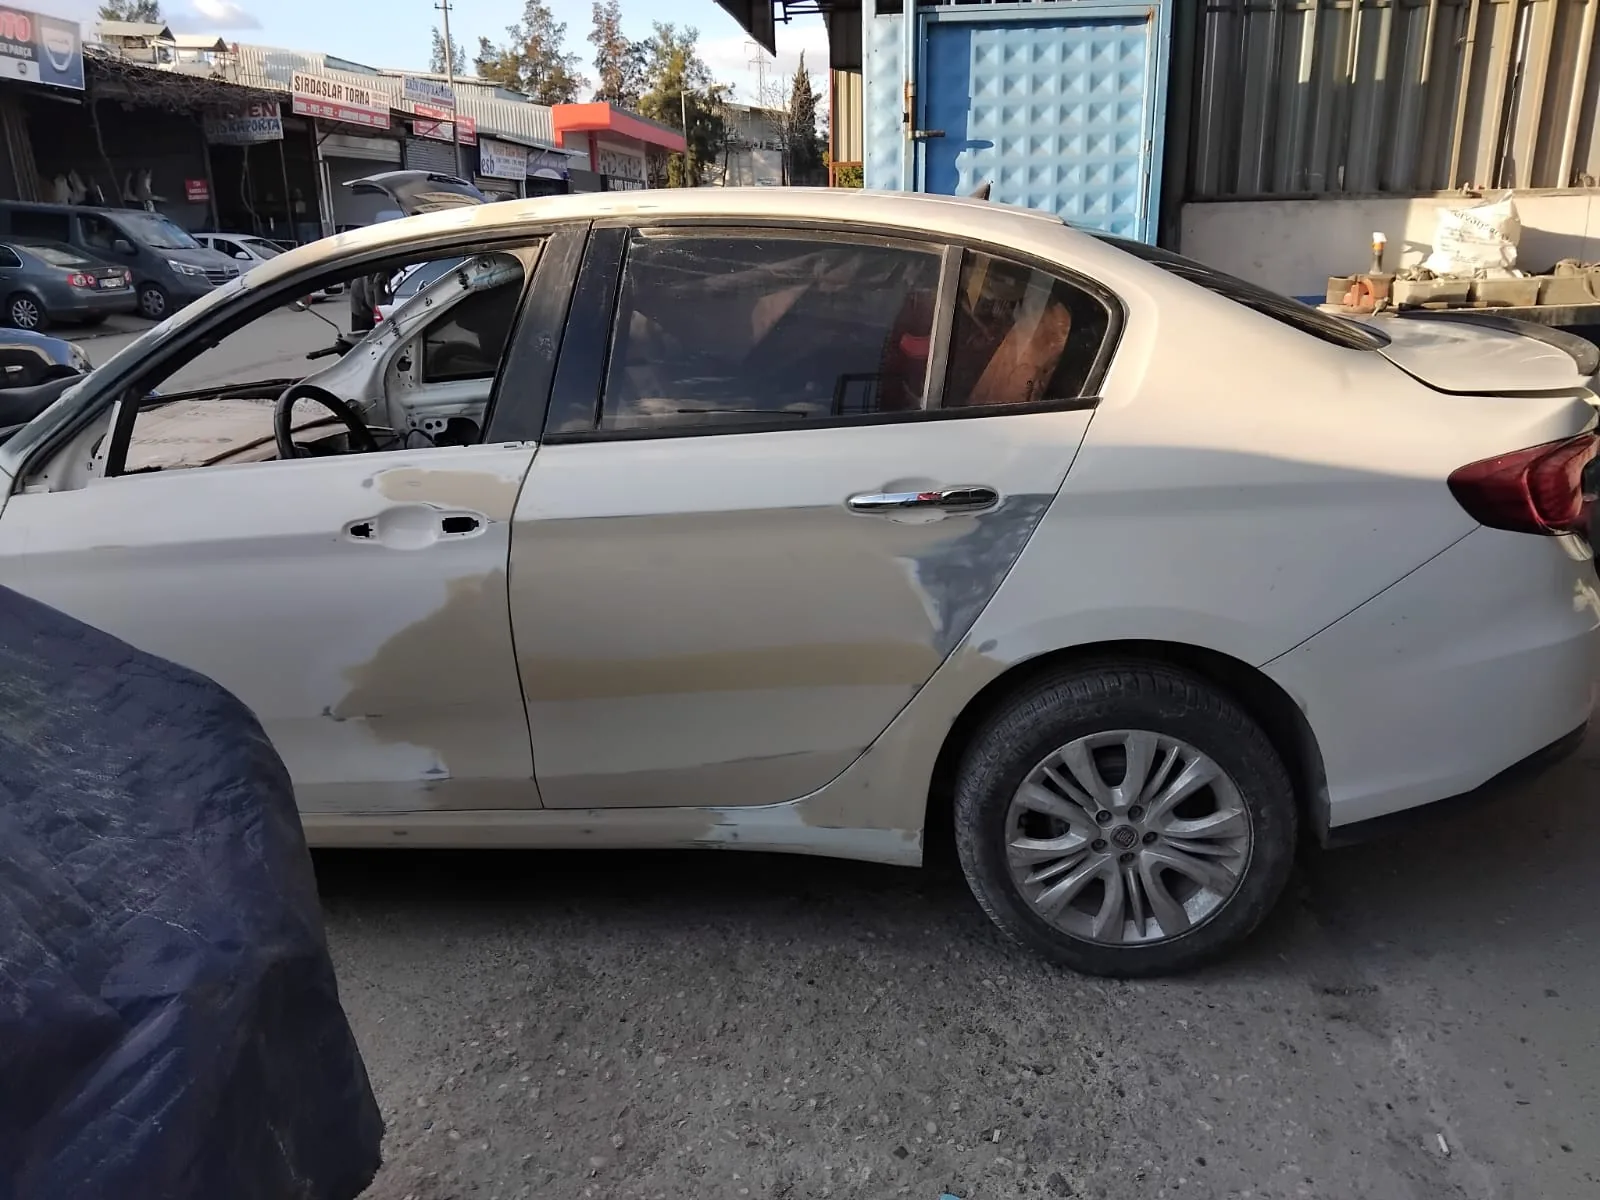
Assessment and disassembly: the work plan is formed here
During assessment, the extent of the damage and whether the vehicle has undergone previous repairs are evaluated. Checking paint thickness is the most practical way to tell if an area has had body filler applied previously. Unusually thick readings typically indicate past repairs.
Next, the parts necessary to properly access the painted surfaces are removed: bumpers, mirrors, trim moldings, and plastic attachments. Painting without disassembly may seem fast, but it leaves noticeable paint lines and tape marks at edges. Removed parts are reinstalled once painting is complete.
Sanding and body filler: minimal but precise
Sanding creates the surface profile required for the new paint to adhere. The existing paint is scuffed to a matte finish, and bare metal is exposed in damaged sections. Sanding depth determines the quality of the result: sanding too deeply thins the sheet metal, while inadequate sanding causes new paint to sit poorly over old layers.
Body filler is not meant to conceal entire dents, but to smooth out minor imperfections remaining after the metal has been straightened. In proper preparation, filler is kept thin; thick body filler eventually cracks and causes the paint to bubble. For this reason, sheet metal is straightened as much as possible on the bodywork side first. For details, you can visit our bodywork straightening page.
Note: Excessively thick body filler will also show up during paint thickness measurements during resale assessments. Straightening the sheet metal and keeping body filler thin is critical for this reason as well.
Why is primer applied?
Primer serves three purposes: it ensures paint adhesion, fills sanding scratches and minor imperfections, and protects bare sheet metal from moisture and rust. Paint applied without primer can dry blotchy, especially due to color differences between the body filler and bare metal.
Once the primer dries, it is sanded again; this stage defines the final texture of the surface. A panel that appears flat to the eye may reveal ripples and dips during guide coat sanding. Any imperfections found at this point are corrected. This preparation requires patience, but the gloss and smoothness of the paint depend directly on it.
Tip: If you would like to see the preparation stages while your car is being painted, visit our workshop. A properly masked, sanded, or primed panel clearly reflects the attention to detail invested in the job.
Paint, clear coat, and baking: the reward of preparation
The color coat is applied using a formula prepared with digital color matching. The clear coat provides high gloss and UV protection. In our workshop, we use PPG and Standox paints along with a dust-free baking booth; the smooth surface achieved during preparation is preserved in a clean environment. We explain the advantages of booth painting in our what is oven-baked paint article.
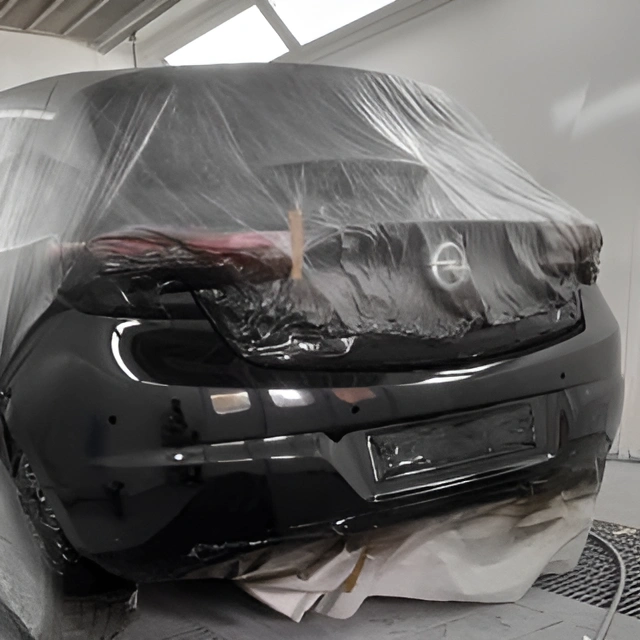
How preparation affects duration and price
Preparation takes up most of the turnaround time. While paint is sprayed in the booth within a few hours, disassembly, sanding, body filler, and primer can take several days depending on the damage. Therefore, when comparing quotes, consider not only the paint price, but also the time dedicated to preparation.
| Procedure | Price range | Duration |
|---|---|---|
| Door painting | 3,500–6,000 TL | 1–2 days |
| Fender painting | 4,000–7,000 TL | 1–2 days |
| Hood or roof painting | 5,000–10,000 TL | 1–2 days |
| Bumper painting | 2,500–5,000 TL | 1–2 days |
| Complete painting | 25,000–80,000 TL | 5–10 days |
These ranges account for the intensity of preparation required. Preparation is quick on a straight panel, but takes longer on a panel with dents or old body filler. If you wonder how pricing is calculated, take a look at our Antalya auto paint prices article.
If you are wondering about your panel's preparation requirements before getting it painted, send us a photo. Assessment at the workshop is free.
How can you tell if preparation was done properly?
Once painting is complete, the quality of the preparation becomes evident on the surface. Inspect the vehicle in daylight, looking along the profile of the panel from an angle. If reflections flow in a straight line, the surface is true; if reflections distort or wave, imperfections remain underneath. Also check panel gaps and edges for tape lines, bubbles, or embedded dust particles.
Also consider durability over time: body filler and primer defects rarely appear in the first few weeks; they surface months later. For this reason, a job where preparation time was cut short may look fine initially, but carries long-term risks. That is why we never rush preparation and gladly explain our process step by step.
Common mistakes in body filler and primer work
- Shaping panels with thick filler: It may seem cheap and fast, but it eventually cracks and bubbles.
- Painting over old paint without sanding: New paint cannot bond and peels away from edges.
- Skipping primer or applying it too thin: Paint dries patchy, and the metal absorbs moisture.
- Painting without disassembly: Paint buildup lines and masking tape marks remain along edges.
- Applying topcoats before full curing: Shrinkage and sand scratches appear in the paint later.
Checking the painted surface, edges, and panel gaps in daylight upon vehicle delivery reveals most of these flaws. Our delivery inspection checklist is a practical guide for this inspection.
Our workshop is in Kepez Akdeniz Sanayi. Send a photo via WhatsApp first, and let's discuss the scope of preparation together.
Frequently asked questions
Why are body filler and primer so important?
No matter how high-quality the paint is, it adheres to the surface underneath. Sanding marks, uneven filler, or insufficient primer will surface months later as bubbling, cracking, or color variations.
Does body filler decrease the vehicle's value?
A thin layer of body filler applied only as needed causes no issues. The problem arises when thick layers are used to reshape the panel. The correct method is to straighten the sheet metal first and use body filler only to smooth out surface imperfections.
Why is primer applied? Can't paint be applied directly?
Primer ensures paint adhesion, fills sanding marks and imperfections, and protects the sheet metal from moisture. Paint without primer can peel quickly or reveal uneven background colors underneath.
Is body filler always necessary before painting?
No. If the surface is sound and smooth, it can be painted without filler. If there are dents, deep scratches, or old paint residues, body filler and primer are required. What is needed is determined during assessment.
How many days does the body filler and primer process take?
Preparation accounts for most of the working time. Total turnaround time is around 1–2 days for panel painting, 1–3 days for minor damage, and 5–7 days for moderate damage; exact timing is determined by the extent of the damage.
Is paint thickness checked during sanding?
Paint thickness is checked during assessment. Unusually thick or thin areas determine the sanding depth and filler requirements, so they are factored into the work plan.
How can you detect old body filler?
Bubbling, cracks, uneven discoloration, and varying hardness when sanding are signs of old, thick body filler. Stripping these areas also reveals the condition of the sheet metal underneath.
Why is paint baked in a booth after preparation?
The heated paint booth ensures that paint and clear coat cure properly. Applying in a dust-free environment helps preserve the smooth surface achieved during preparation.
Related pages
- Antalya auto paint
- Bodywork repair
- Bodywork straightening
- Oven-baked auto paint
- Auto paint terms glossary
- Paint repair
GET DETAILED INFORMATION
Contact us to learn more about your vehicle's damage condition or pre-paint preparation processes.